Summary panel
Contents
What is a summary panel?
Summary panels are normally used to display call statistics based on a particular call type or call property, e.g. the longest call, the most expensive call, the total number of inbound calls etc.
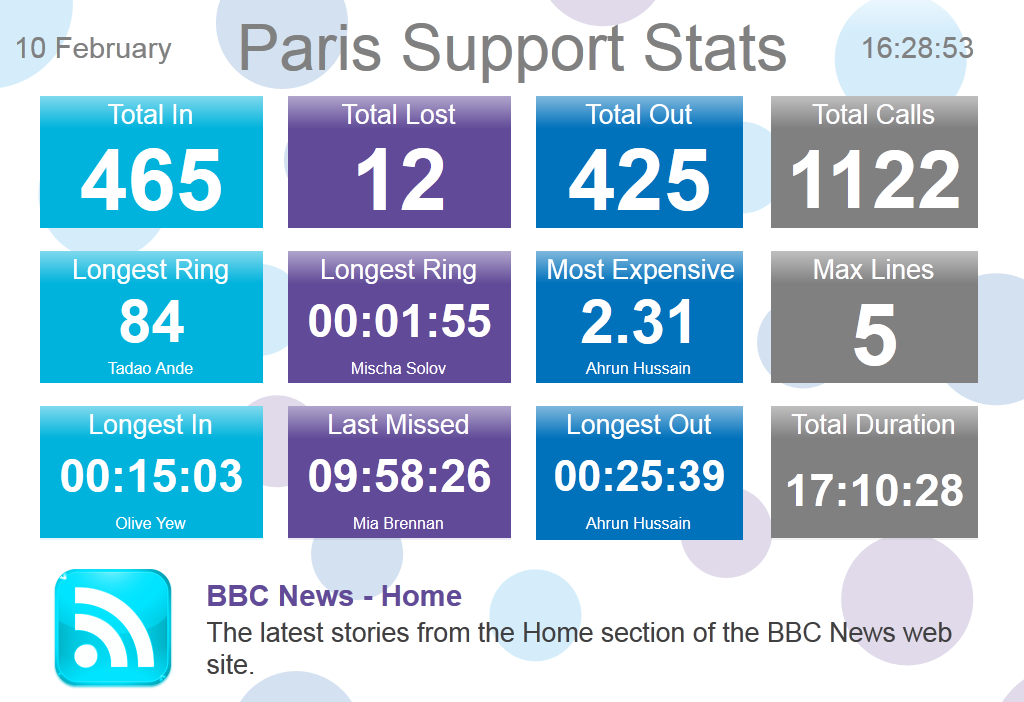
The display board in the screenshot below displays several summary panels, each of them showing call information grouped by different criteria
Adding a summary panel
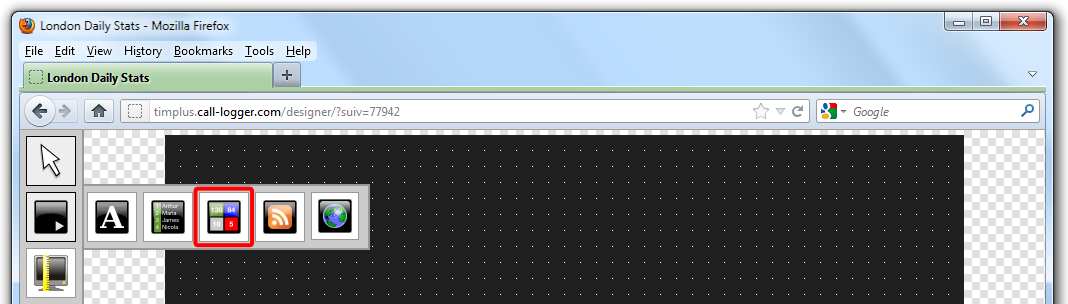
To add a summary panel, click on the toolbar button to expand the list of panel types and choose the button, as shown below:
After selecting the summary panel button, the mouse pointer changes into a white crosshair pointer, indicating that the designer is ready to draw your panel. Click and hold your left mouse button, starting at the point defining the upper-left corner of your new panel. Whilst still holding down the left mouse button, drag the marquee that will appear to the point that will define the lower-right corner of your panel, as shown below:

Customising a summary panel
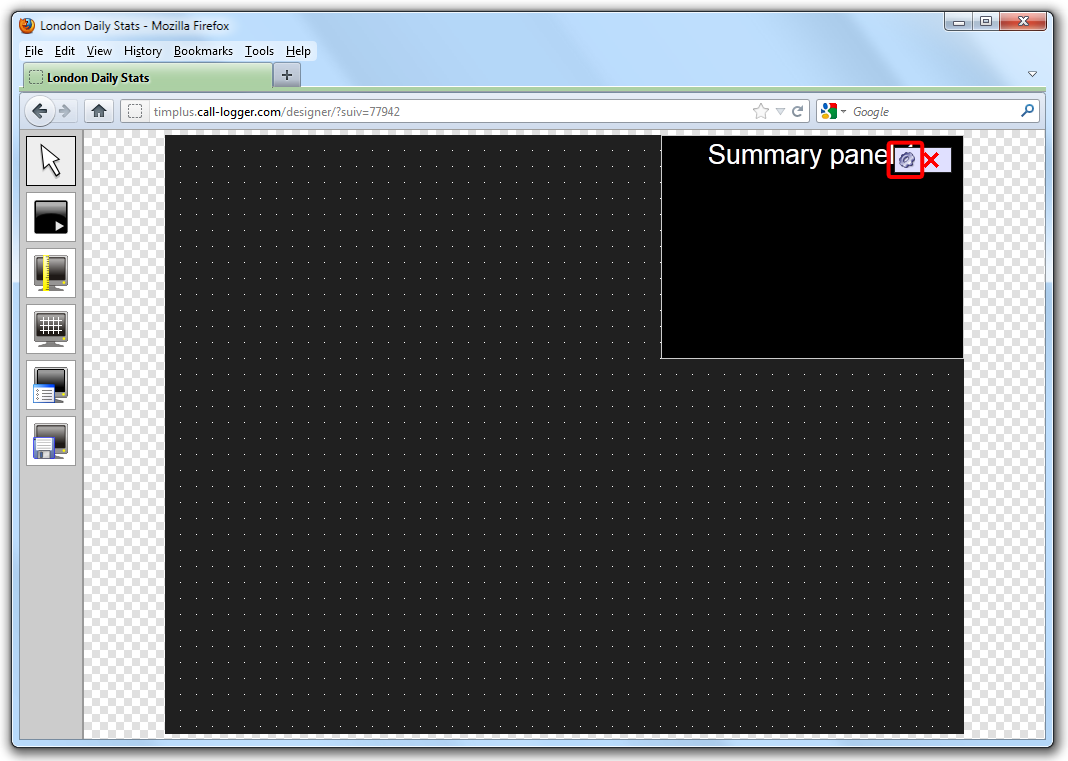
To customize a summary panel, click on the  toolbar button to switch to panel selection mode. Hover your mouse pointer over the label panel you want to customise and click on the
 ![]() icon, when it appears towards the top-right corner of the panel, as shown below:
icon, when it appears towards the top-right corner of the panel, as shown below:
The Summary panel properties window will open, containing the following tabs:
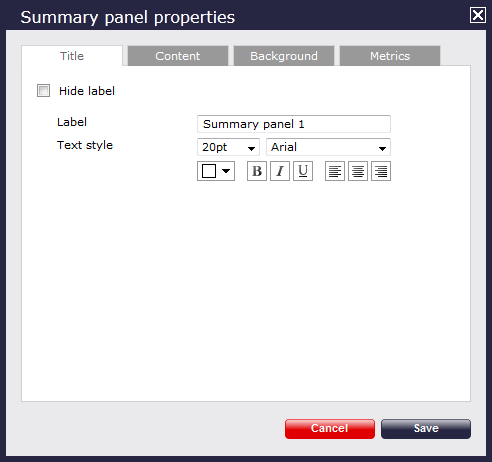
Title The Title tab allows you to enter the name you want to appear on the summary panel and apply any styling properties, such as font size, font style, text colour, etc.
| Field | Description |
|---|---|
| Hide label | Tick this option if you don't want your panel to have a title |
| Label | Enter a title for your summary panel |
| Text style | Select any styling properties for your panel title, e.g font size, font style or text colour etc. |
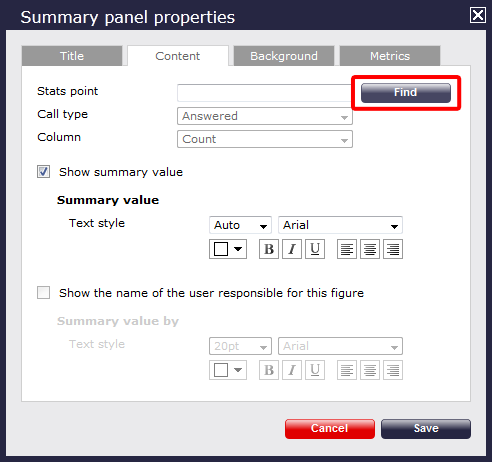
Content
The Content tab allows you to select the type of call information you want to display in your summary panel.
Selecting a stats point
To populate the summary panel with call logging information, you first need to create a stats point object in the Directory to collect data for the site, group or user that you want the summary panel to display.
To choose the entity whose calls you want to display in this panel, select a stats collection point, by clicking on the Find button.
A new window will open, allowing you to drill-down to the site or group level in the Directory, where the stats point object you want to add resides. To select the stats point, click on the ![]() icon alongside it.
icon alongside it.
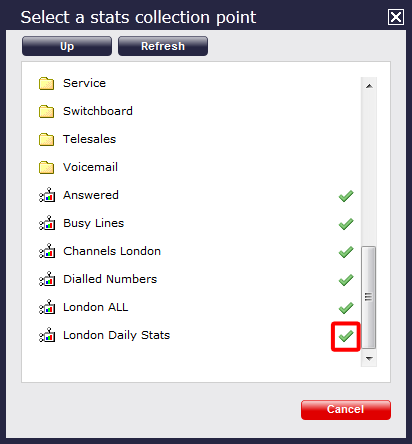
This will now appear as your chosen stats point.
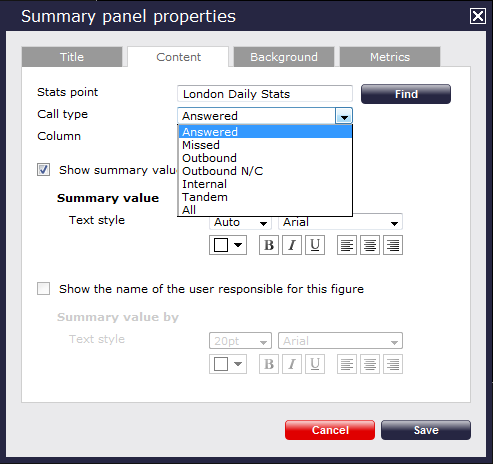
Selecting the call type
To select the call type you want to display in this column, click on the Call type drop-down list and choose from the available options, as shown below:
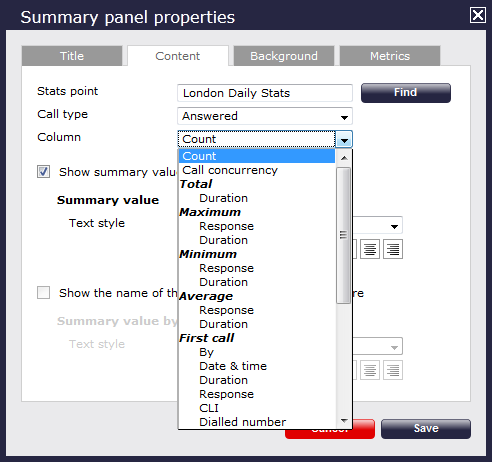
Selecting the information type
To select the type of call information you want to display in the summary panel, such as total duration, response time, etc., click on the Column drop-down list and choose from the available options, as shown below:
Show summary values
To see only the summary values for the information displayed in this panel, without the textual element, tick the available option and apply any styling properties, if preferred.

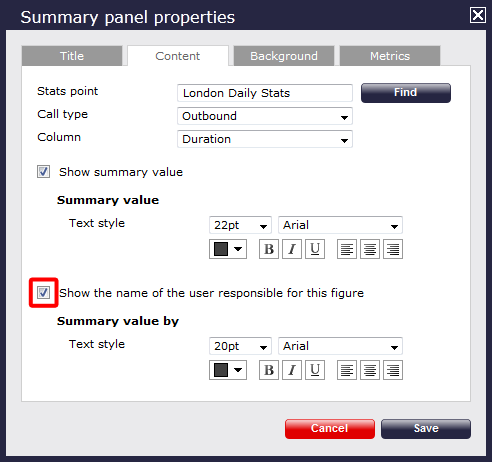
Show the name of the user
To see the name of the user whose call information is displayed in this panel, tick the available option and apply any styling properties, if preferred.
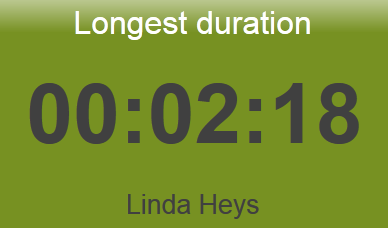
In the example below, we have selected to show the longest outbound call, so in the Call type field we have selected Outbound, and in the Column field we have selected Maximum Duration. Ticking the box to display the name of the user that meets the criteria above, the summary panel will display the outbound call with the max duration and the name of the person who achieved this.
The summary panel of this last example will display as shown below:
Background
The Background tab allows you to configure the background properties of your summary panel.
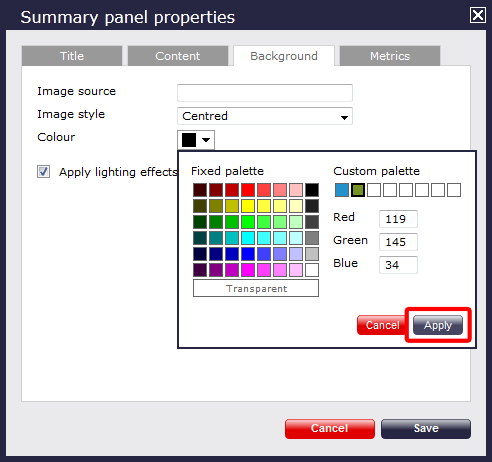
| Field | Description |
|---|---|
| Image source | If you want your panel to display an image, type its source here. Remember, the path is relative to the folder on disk from which the web content is served, and is different for each class of web user |
| Image style | Choose how the image should be displayed |
| Colour | Choose the background colour of the panel; if you are adding an image, you may want to select Transparent so that this does not interfere with your image |
| Apply lighting effects to this panel | Tick this option to apply a shine effect to the entire panel; if you are using the panel to display an image, this may adversely affect how it appears |
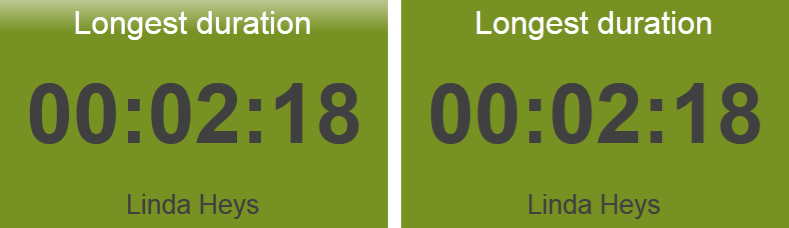
The two examples below show the difference between panels with and without lighting effects.
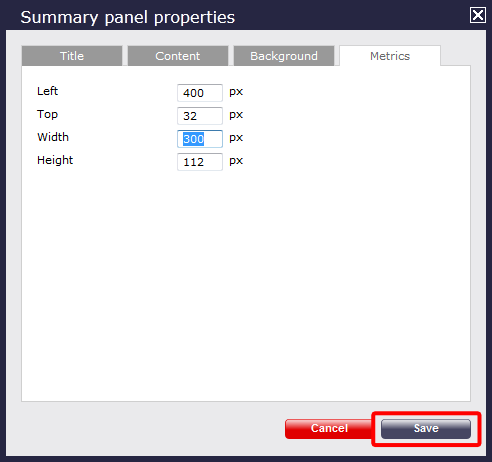
Metrics
The Metrics tab allows you to define the shape of the panel, by entering values for its position and size.