Scheduling reports
Contents
- Preparing the report
- Setting the scheduling parameters
- Editing a scheduled report
- Deleting a scheduled report
Preparing the report
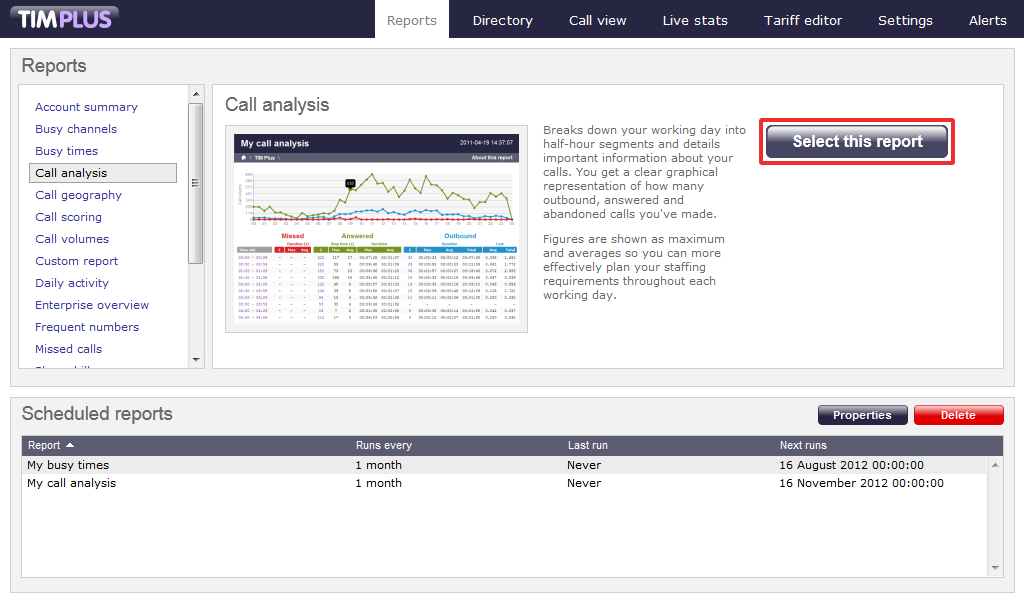
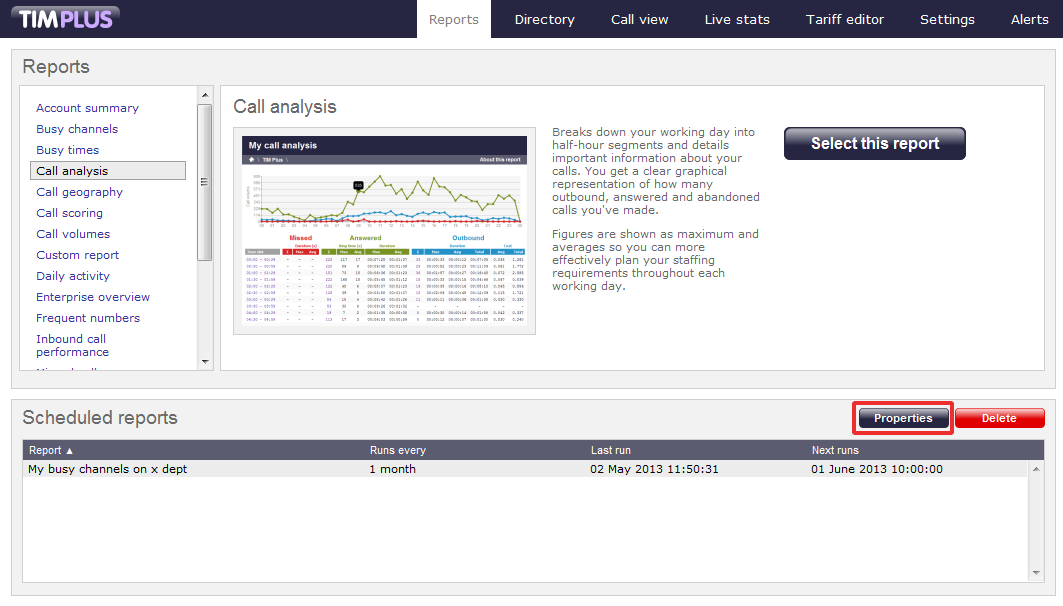
To schedule a report, choose the one you want to run from the list in the left-hand panel, then click on the select this report button to start the report wizard, as shown below:
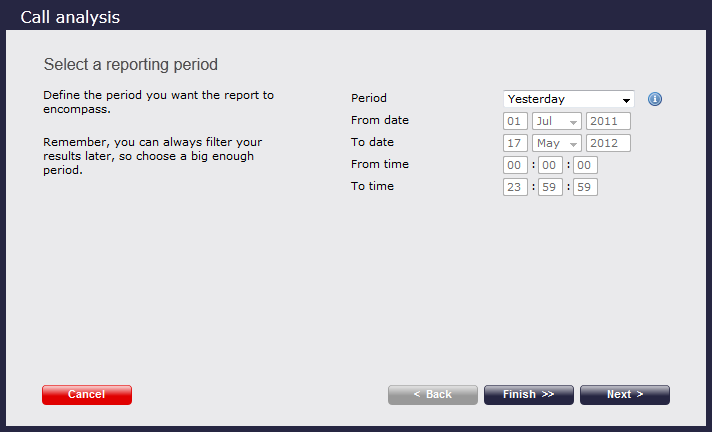
In the same way as with running a report on demand, you can modify the report period, entity, filters, options and format before scheduling, by referring to the relevant pages below:
- Setting the report period
- Setting the report entity
- Setting the report filters
- Setting the report options
- Setting the report formats
If you do not want to change any of the default settings, click on the Finish button, as shown below:

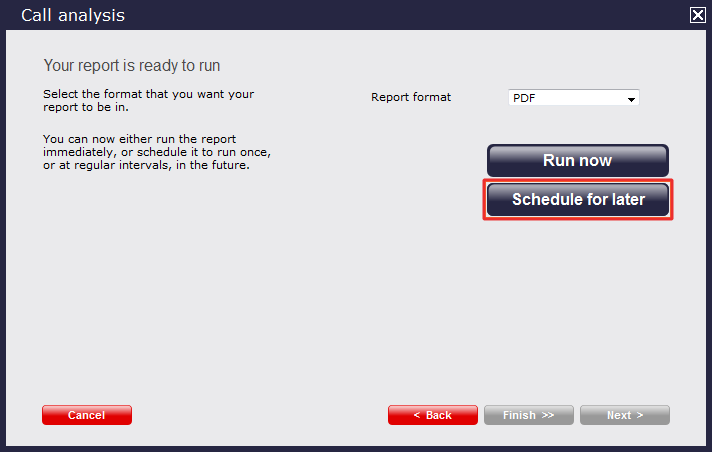
Once you have selected your report's parameters, click on the Schedule for later button.
In the new window that opens you can set the scheduling parameters of the report:
- when you want the report to first run
- how frequently you want the report to run
- how you want the report delivered
- who should receive the report
Setting the scheduling parameters
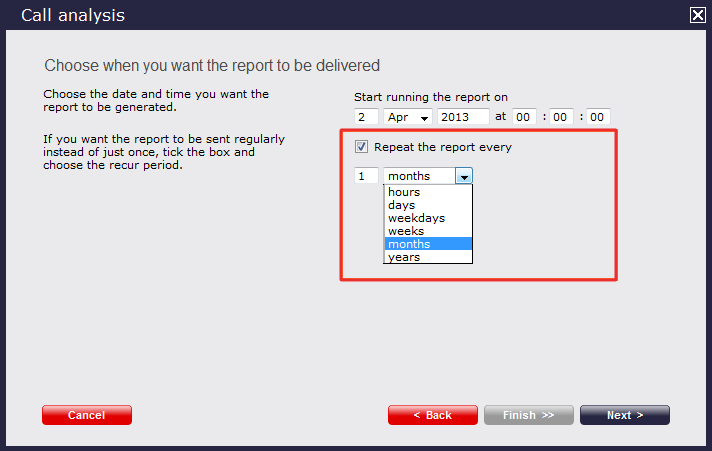
When do you want the first report to run?
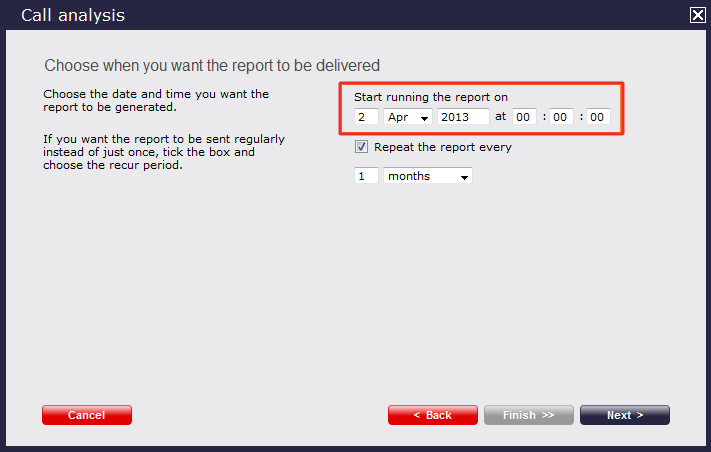
Enter the future date and time that you want the report to run at, as shown below:
How often do you want the report to recur?
If you want the report to recur, tick the repeat the report box and select the frequency for re-runs from the drop-down list, as shown below:
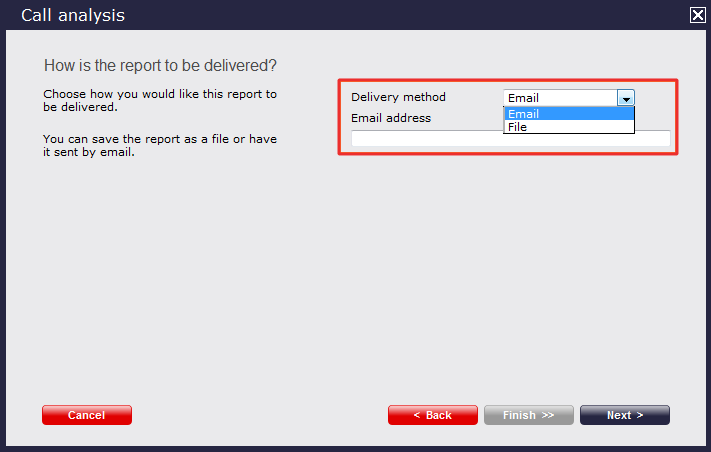
How do you want the report delivered?
The report can be delivered by e-mail or saved as a file to a specific location, by choosing a delivery method from the drop-down list:
Who receives the report?
| Delivery method | Description |
|---|---|
| Enter the e-mail address that you want the report to be delivered to If you want the report to be e-mailed to more than one person, separate each address using the ; symbol. | |
| File | To save the report to a network share, specify the filename using a UNC path. You must ensure that the user account running the TIM Plus service has access privileges to write to the file you have specified. Type the full filename, including folder, of the location that you want the report to be saved as, e.g. C:\My Reports\My Call Analysis.html (See below table for filename variables) |
| Variable | Description |
|---|---|
| {year} | The current year |
| {month} | The current month |
| {week} | The current week number |
| {day} | The current day of the month |
| {hhmmss} | The time that the report ran, in a compact hours, minutes and seconds format |
| {name} | The name given to the report |
| {uiv} | A unique numeric report identifier |
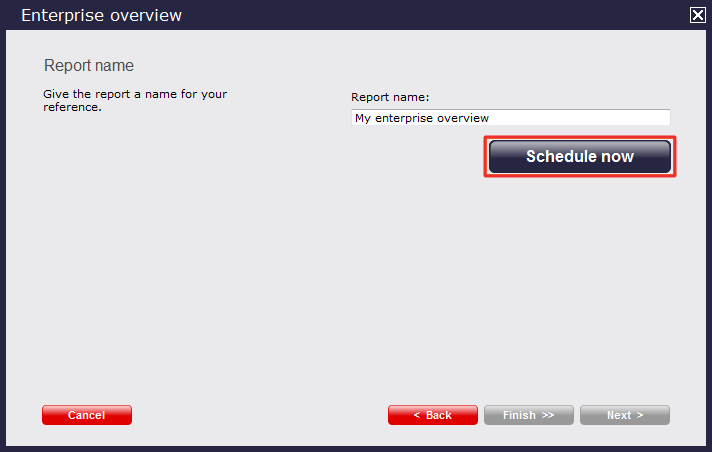
Schedule now
When you have configured the scheduling parameters, click on the Schedule now button to save the report's definition.
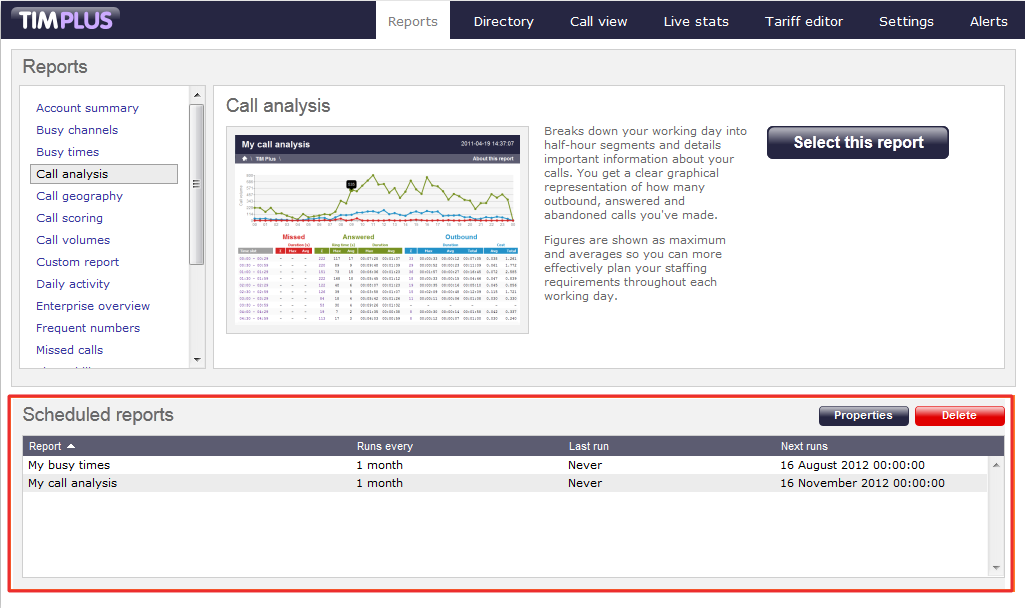
Notice that your newly-scheduled reports are now listed in the scheduled reports panel at the bottom of the screen, as shown below:
The properties of a scheduled reports are web user specific, and can be seen or edited only by the web user that initially added the report in the system.
Editing a scheduled report
To edit a scheduled report, select it from the Scheduled reports panel, and click on the Properties button, as shown below:
A new window with the properties of the report will open, where you can edit the period, entity, filters, options and format of the report.
Click on the links below for details of how to configure these parameters:
- Setting the report period
- Setting the report entity
- Setting the report filters
- Setting the report options
- Setting the report formats
Deleting a scheduled report
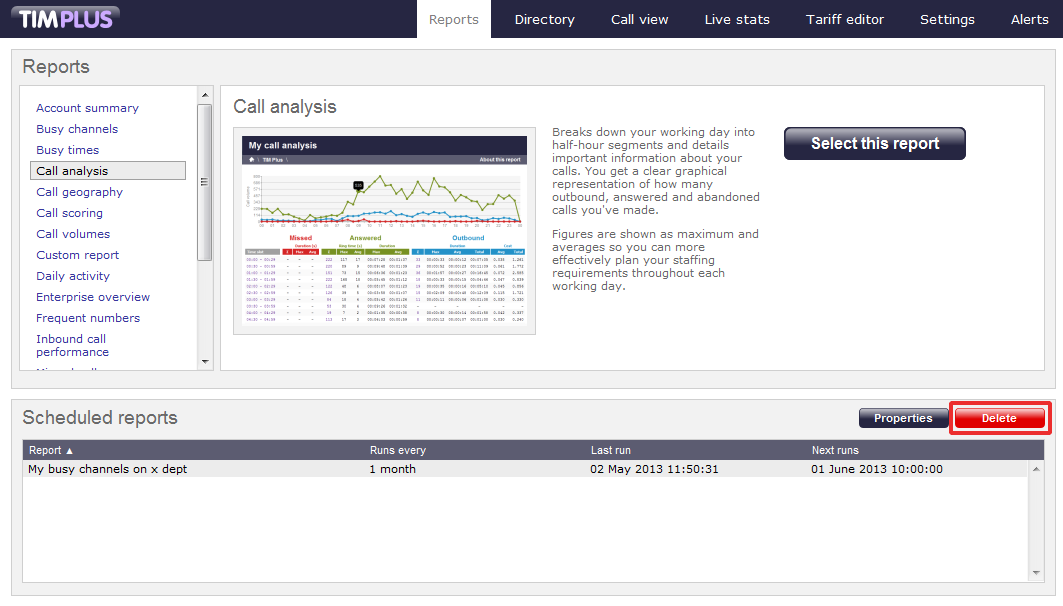
To delete a scheduled report, select it from the Scheduled reports panel and click the Delete button, as shown below: